CEMP-E
TI 809-26
1 March 2000
6. WELD QUALITY.
a. Engineer's Responsibility for Acceptance Criteria. The Engineer is given the responsibility of
determining and specifying the appropriate weld quality acceptance criteria. AWS D1.1 quality criteria is
a workmanship standard, based upon the quality readily achievable by a qualified welder. Non-
destructive testing acceptance criteria is based upon achievable quality and the ability of the method to
detect discontinuities of given size and location, with some consideration for the effect of surface and
near-surface notches upon performance. The Engineer may use experience, analysis, or experimental
evidence to establish alternate acceptance criteria. This criteria may be applied as the inspection criteria
for the project, in lieu of AWS D1.1 criteria, or may be used to establish when repair or replacement of a
weld is required for a given discontinuity or situation. The first approach is valuable because it reduces
the time and expense of inspection, and eliminates needless repairs, reducing the risk of creating
additional discontinuities while performing repairs, and reduces the potential detrimental effects to the
existing base metal. The second approach is also valuable, but does not reduce inspection expense. See
AWS D1.1 Section C6.8.
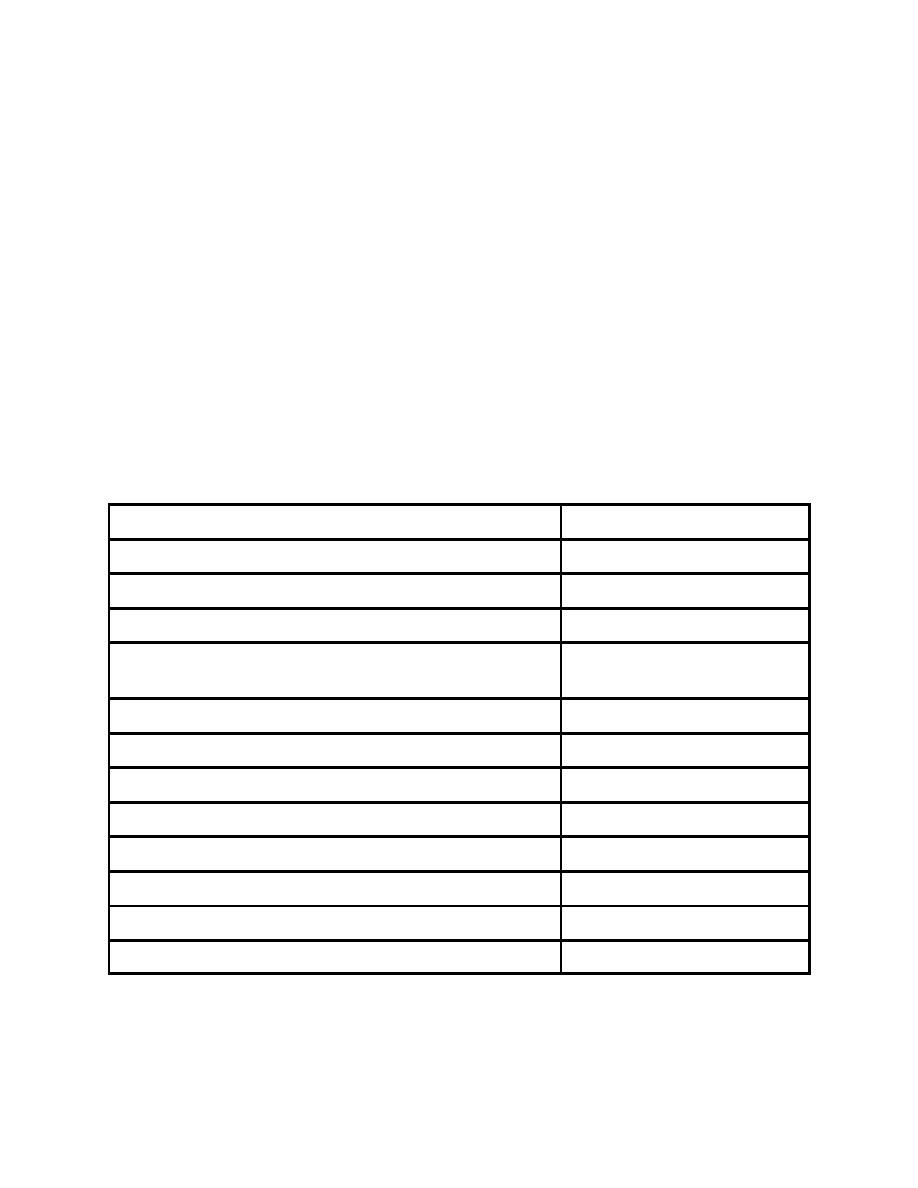
b. D1.1 Visual Acceptance Criteria. The following table provides the specification reference location
for various forms of weld discontinuities:
Weld Discontinuity
AWS D1.1 References
Crack
Table 6.1 (1)
Fusion
Table 6.1 (2)
Weld Craters
Table 6.1 (3)
Weld Profile (convexity, concavity, overlap,
Table 6.1 (4), 5.24
reinforcement)
Weld Size (underrun, lack of penetration, underfill)
Table 6.1 (6), 6.5.1
Undercut
Table 6.1 (7)
Porosity
Table 6.1 (8)
Arc Strike
5.29
Surface Slag
5.30
Spatter
5.30.2
Length
6.5.1
Location
6.5.1
c. NDT Acceptance Criteria. When penetrant testing (PT), and magnetic particle testing (MT) are
specified, the acceptance criteria to be used is the same as that for visual inspection. For ultrasonic
8-13


 Previous Page
